
Installing custom third party prestes to the VST synthesizer Vital is pretty easy. This guide explains two different methods on how you can add them.
Method 1: Import Vitalbank
If your download includes a .vitalbank file, this method is the recommended choice for its simplicity.
1. Launch Vital within your DAW.
2. Click on menu and then on 'Import Vital Bank'
3. Navigate to the .vitalbank file on your system and select it
4. That's it! Open the preset browser in Vital and find the newly added preset folder in the bottom-left corner.
Method 2: Adding multiple vital presets manually
No worries if you've downloaded a bundle of individual preset files. You can add them all at once using this method.
1. Open Vital in your DAW
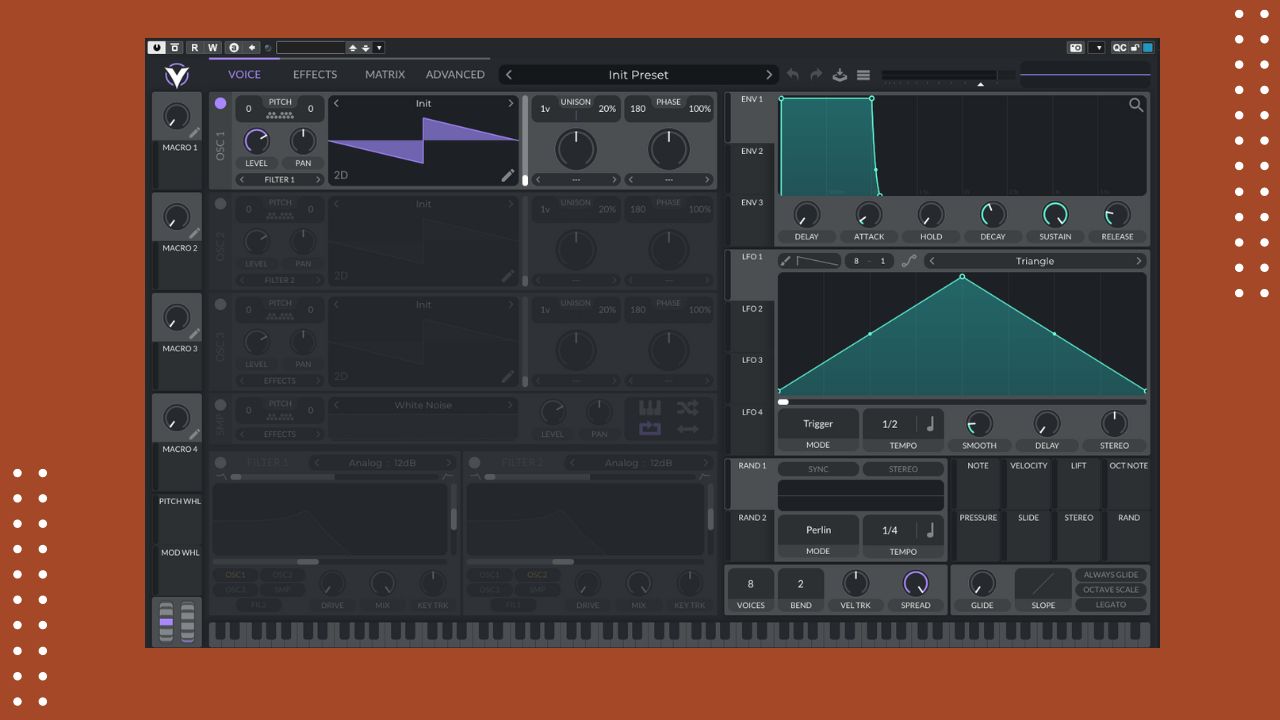
2. Navigate to the preset browser by clicking on 'Init Preset'
3. Right click on any folder in the left lower corner so you see the option 'Open File Location'
4. Within the directory, locate the Vital folder.
5. Add a new folder and give it an unique name
6. Inside this new folder create another one called 'Presets'
7. Paste all your vital presets into this 'Presets' folder.
8. You're all set! Create a new instance of Vital in your DAW, and the newly added presets will appear in your preset browser.


Leave a comment
This site is protected by hCaptcha and the hCaptcha Privacy Policy and Terms of Service apply.